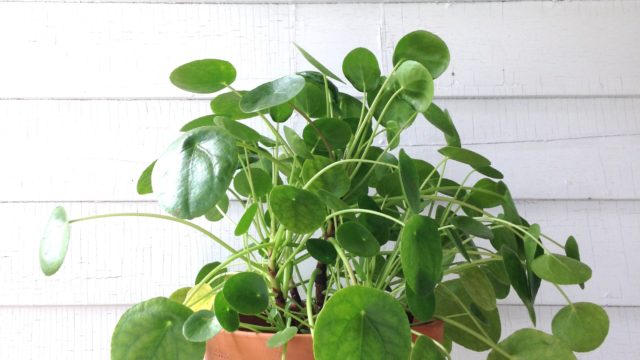
Pileas are no stranger to the houseplant world, but everyone has fallen in love with Pilea Peperomioides.
No one really knows why, but Pilea Peps have almost replaced Monsteras on the most wanted houseplant list (almost). I mean, they’re super adorable and completely safe for pets, too. These guys are also called Pass-it-On plants, since they propagate easily. Well, apparently no one wanted to pass on their plants because they were pretty rare up until recently. I was pretty close to selling a kidney for mine. (I didn’t btw)
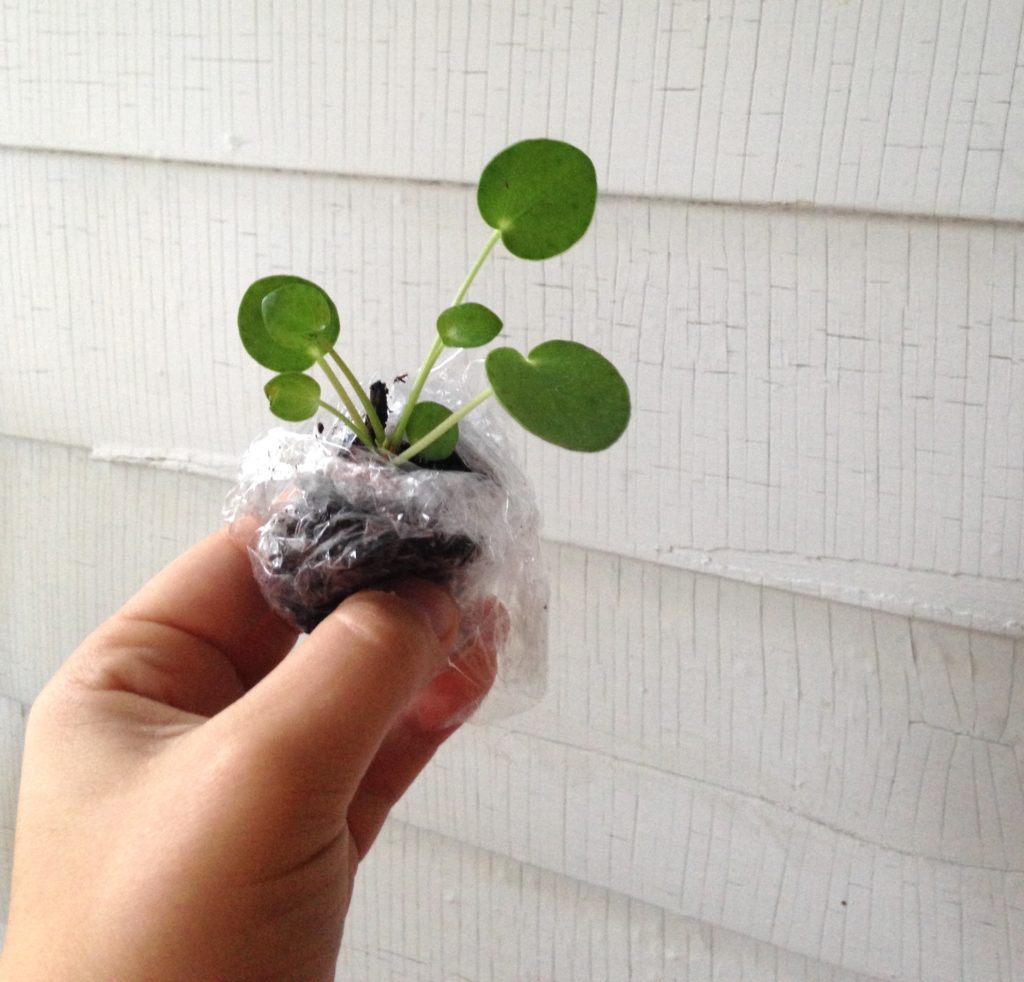
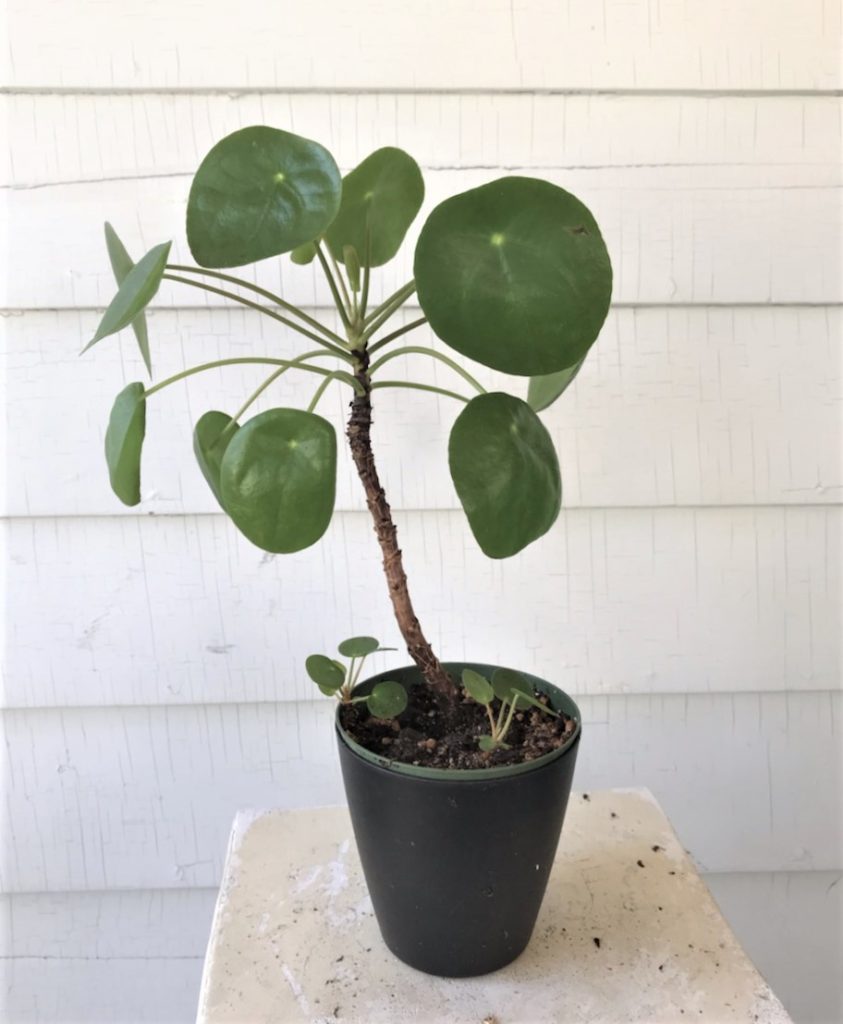
At the moment, I have two Pileas. Penelope is a super huge Pilea; I found her a couple weeks ago for $35. And Phil, who is my first, was a baby I bought off the black market (I didn’t, btw) for $45. He’s seen below – look how super tiny and young he was when he arrived from Sweden! He’s about 6 months old and much bigger now, but when I first got him I honestly knew nothing about them.
Pileas aren’t tricky plants and there’s some great resource blogs out there. But I chose to do trial and error process on Phil to really see what kind of care he needed to grow big and strong.
Caring for Young Pilea Peperomioides
Many Pilea owners start with baby Pileas since that is what magically spawns from adult plants. They are very small and fragile in this stage (especially if they were shipped to you) so, here are some tips for Baby Pileas:
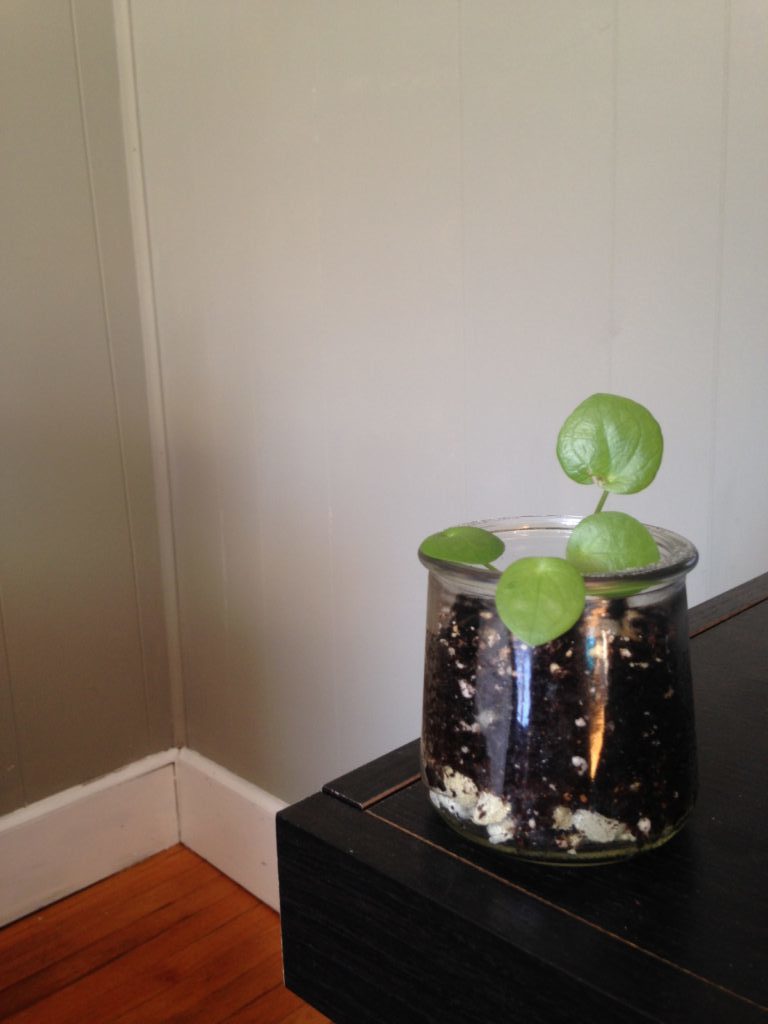
- They need humidity. Some of you may know my love for small glass jars, and once I got Phil that’s what I put him in (see below). Even though there were no holes, the glass provided some humidity and kept him happy for a few months. I tend to start a lot of my little plants in glass jars in their early stages.
- Glass jars also allow me to monitor the amount of water and dryness of the soil, so I am sure not to overwater. I water him once or so a week and used filtered water.
- Wait to fertilize. I did not initially use any type of fertilizer. Once I moved Phil into an adorable planter with a large drainage hole, I began to use fertilizer every month or so.
- Be ready to upgrade. Soon they should be moved from the small glass jar to a more permanent home. Phil now lives in a cute green planter and it’s the perfect size for him. Plus I added rocks at the bottom for extra drainage.
Caring for Pilea Peperomioides
As your Pilea enters teen years, or if you have a larger Pilea, care is not that different. I find they’re much easier to inspect and care for once they’re bigger. When replanting, pick a high quality potting soil and line the pot with small stones at the bottom.
When to Water
The biggest issue is watering. People tend to overwater Pilea Peperomioides which lends itself to common problems that owners worry about: curled leaves, brown spots, and yellowing leaves (to be discussed below). It’s simple: don’t overwater your Pilea. Get yourself a good moisture meter and water only when they’re dry which, in a 70 degree house, is about once a week. If they’re in a terra cotta pot, it might be twice since terra cotta absorbs a decent amount of water.
How Much Sun?
You know that one plant that always leans towards the sun and is never straight? Pilea Peperomioides is that person. They need to be turned 1-2x a week or they just lean a bit and look lopsided. That being said, they like indirect yet bright locations. I tried Phil in bright sun and the leaves burned a bit. An indirect location (like behind a sheer curtain) is best.
Moisture and Air
Like most plants, Pileas generally like humidity. Their happiest temperature is about 70 degrees, so spring/summer is perfect. The really hot summer air (80+ degrees) can a bit much for them. Dry, heat-ridden winter conditions bring dry leaves, resulting in unhappy little plants. I recommend placing your Pilea on a bed of stones (like many do for ferns) or have a humidifier going for better air quality. Avoid putting stones on top of the soil – that makes it difficult for Peperomioides pups to surface.

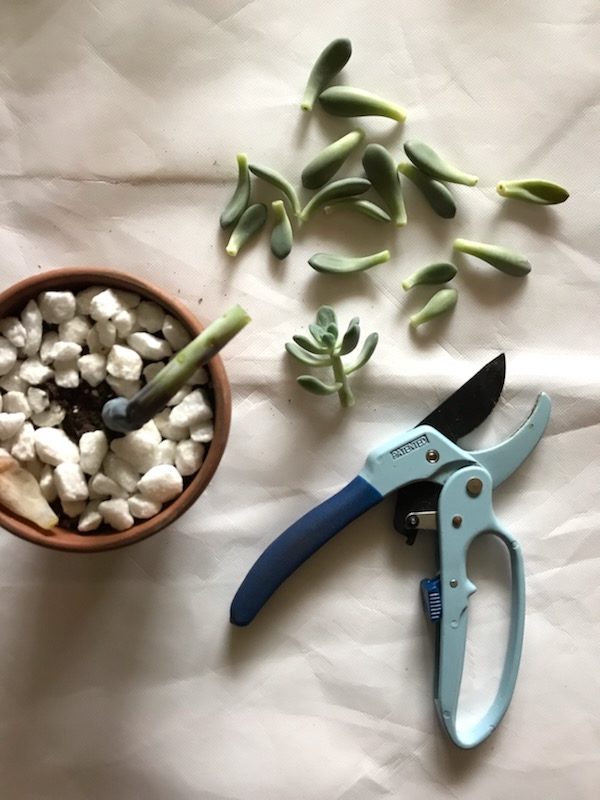
How to Propagate
Propagating these plants is very simple. When I acquired Penelope (see above), who I dubbed my “mama” plant, from these guys, she already had some pups peeking up through the soil. I cut each plantlet from the mother plant with a clean, sharp knife. They can either go into water to start root development or straight into moist soil. I’ve found the soil method to be quicker and easier so I no longer take the step to root the plantlets in water. After about 4-6 weeks, they anchor in soil and will begin to sprout new leaves of their own.
Are Pilea Peperomioides Safe for Pets?
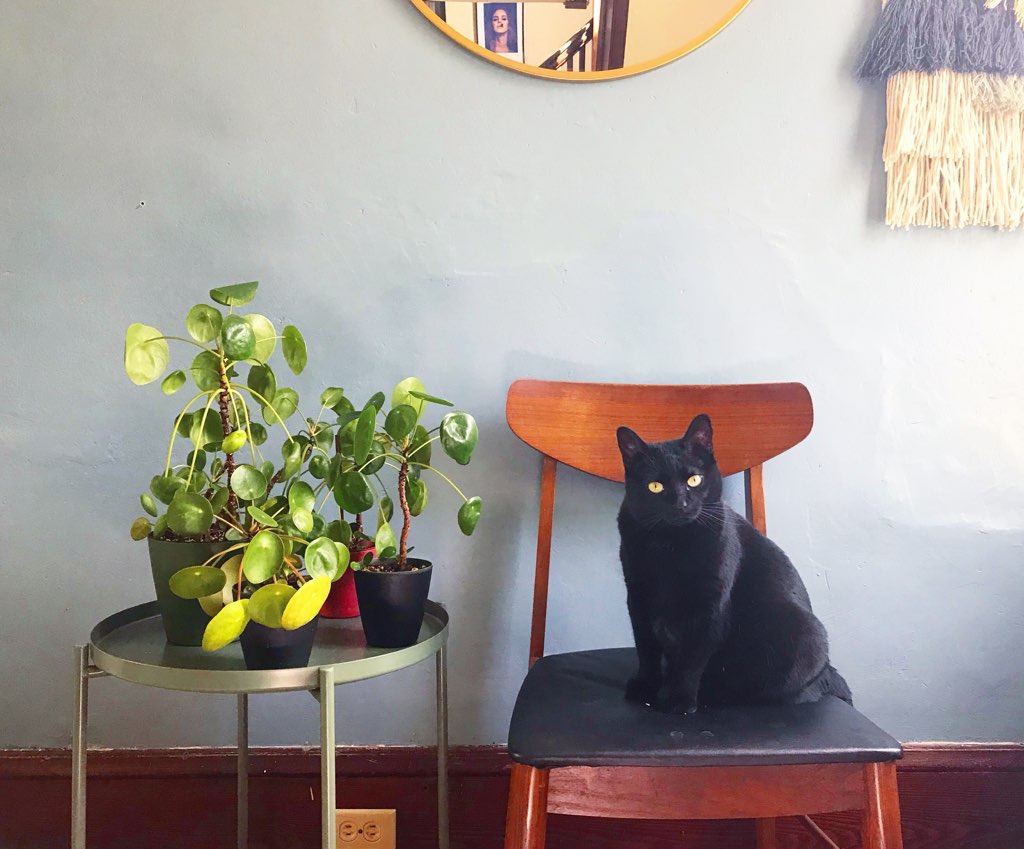
I answered this question last month in this post and the short answer is yes, they are! They are one of my top plants for pet owners since people seem to have luck with cats not eating them. Maybe it’s the big round leaves, but they’re safe and seem to be a welcome plant in my pet safe household. However, my same rule applies like any other pet safe plant – if eaten in its entirety, it can still result in an upset tummy and an unhappy plant mom (or dad). So, as always, watch your pets and your plant. If they seem really interested for any reason, you may want to move your Pilea to another location.
Problems with Pileas
That’s a more negative sounding title than it needs to be, but we all do panic when we see things wrong with our Pileas. Here are the most common ailments:
- Curling leaves (see below pic): I have had a few leaves begin to curl and they never uncurled. His new leaves are fine, so I attribute it to general acclimation and adjustment to his new home. Plus, a hotter summer and more frequent watering schedule hasn’t helped. So, if your Pilea has consistent curling leaves, check the soil moisture, remove from hot temperatures, or re-evaluate your watering schedule.
- Brown Spots: While they can be result of spider mites or bugs, Phil’s brown spots were definitely because of harsh sunlight. Once placed indirect light, these leaves eventually turned yellow and fell off, which brings me to….
- Yellow Lower Leaves: This is definitely a natural occurrence with these plants, especially as they get bigger and older. If you have an inordinate amount of yellow leaves you may be overwatering, but a few on occasion are just older leaves falling off to make room for the new.
- Stunted growth: Also a natural occurrence with all plants. If they are not dormant and it’s not winter, there may be something wrong. Check for bugs (bugs will stop any plant from growing) and light levels. If the plant is in a dark location and too wet, it’s very unhappy, so you’ll need to relocate. Pot-bound plants also stunt growth, so be sure to upgrade your pot when necessary.
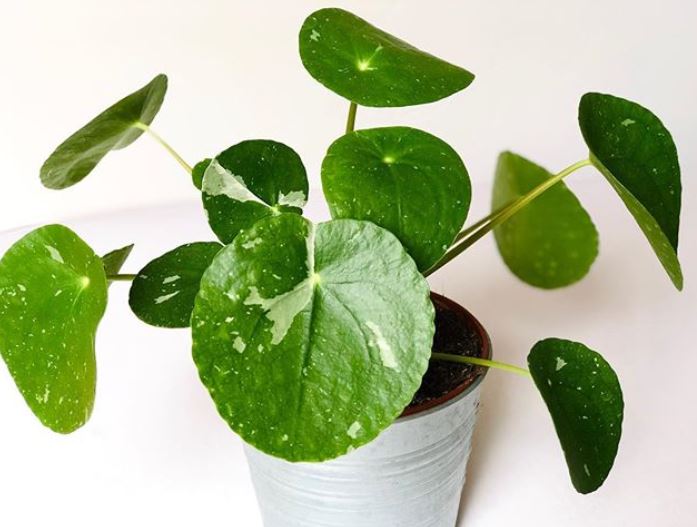
While there are these regular Pilea, there’s also a fancy new varigated Pilea, called Pilea Whitesplash. Oooohhhh, ahhhhhh.
If you’re still on the hunt for Pilea Peperomioides:
–Pilea.com is one of the major distributors in the US and that’s where I got Penelope.
–The Sill is a great resource too (and no, I do not get any $ for mentioning them, they’re just great).
–Amazon has Pilea aplenty (I do participate in affiliates).
How is your Pilea husbandry going? Feel free to ask questions or share tips below in the comments.
Wish i could have a snip or to for starters. We used to give each other starters, pieces to start our own plants. Havent seen that tradition in years. Thats why i dont have any plants in my house. And I wish I did. I love plants.
Hi! If you are on facebook, there are tons of groups that do plant swapping for free! Hopefully you’ll get a few freebies. 🙂
My Pilea has both curled leaves and brown spots, I’m being very careful not to overwater, watering every 1.5-2 weeks. Can I send you a picture? I’m desperate to get to the crux of the problem…thanks
Hi! How much light does your Pilea get? Curling leaves and brown spots usually means too much light or a watering issues. I water my Pilea deeply once a week since they are in bright, filtered sunlight all day, and then let the soil dry out before I water again. I would make sure your Pilea is in bright, filtered light and I would stop watering your Pilea on a schedule for now, wait until the soil is dry, then soak the soil fully. Don’t water again until the soil is 75% dry (you may want to get a moisture meter). You can definitely send a photo – just send it to my Facebook page. 🙂
Found one in rough shape ( most of the leafs were ripped off or heavily damaged) for $5. Decided to try and save the little guy. Let’s see how this goes!!
On a moisture meter, is 4 when I would water?
Hi Sarah, I would water when it is a 3 or lower for a Pilea Peperomioides. On a typical MM, 4 is usually very lightly moistened, but these like to dry out a bit. Hope that helps!
How do you get your Thai plant so red indoors?
Lots of indirect sun – Thai plants do best with consistent sun and keeping them lightly moist (never let them dry out). They won’t look as bright and vivid if they are kept in shade.
Your blogs provide great information, btw… if you are looking for Nursery Plants in Florida, Ifield Botanics is the best vendor in Florida for Nursery Plants.