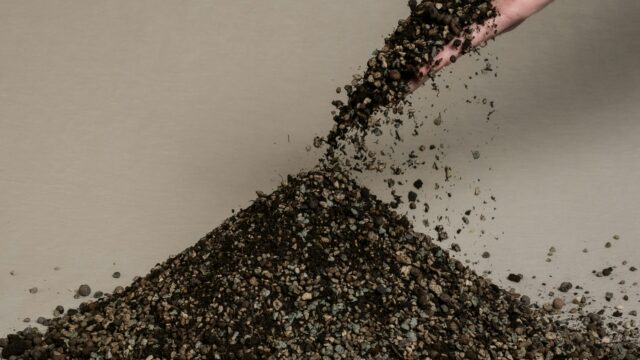
An often overlooked part of plant parethood is soil. For a time I just bought the generic houseplant soil mix available at big box stores until I happened upon a problem: fungus gnats.
Oh, the dreaded fungus gnat. I purchased this “generic” soil and repotted 10+ plants. After a few days I noticed fungus gnats everywhere, certain it was from said janky soil. This prompted crying, then research, then an insane repotting day resulting in more very moist soil. I finally realized the problem was the soil. It wasn’t allowing proper drainage hence the standing water hence the gnats. Contemptuously I decided I would come a new method – I’ll make my own houseplant soil mix! Take that gnats.
Why Make Your Own Soil Mix?
Now hold on, hold on, why can’t you just use the soil that comes with the plants? Well, you can, nothing is stopping you. I, personally, like the satisfaction of repotting when I bring a plant home. It allows me to get to know the plant, see how the roots look, and check for bugs. Sometimes though, the soil that a plant is sitting in can be, well, terrible. And sometimes that soil is a mix that is meant to hold water for a long time (more on that later). If a plant has been at the greenhouse for a while there can be some mold or moss, so I like to change that out, too. And again, I can check roots for bugs, damage, etc, when repotting.
Well, hold on, can’t you *just* use that generic soil mix and water it less?

I mean you can, no one is stopping you. For me, it just stays too moist, too soppy and wet just too long. Yes, that’s redundant for a reason. Generic soil, that without perlite or orchid bark, absorbs water and holds onto it. Soil amended with perlite, orchid bark, sand and charcoal helps break up that soil blanket and promotes drainage. Drainage is key here.

How To Make Your Own Homemade Houseplant Soil Mix
Turns out making a “homemade” houseplant soil mix is not as hard as it sounds. Plus, it is hugely superior to the generic stuff. You can buy a nice soil mix but I just enjoy making my own, plus, it’s cheaper. As long as you know the ingredients and what they do, you’re golden.
My houseplant mix, which I abbreviated to HHM, is one I use for all of my Monsteras, Aroids, Hoyas, Peperomia and Begonias. Some of my other plants (like Calathea) get dressed in a different soil blend.
To make my HHM, you’ll need a bag each of:
-good quality indoor/houseplant potting mix (such as Espoma)
-perlite
-sand
-orchid bark
-charcoal (optional)
Ideally, you’ll want the potting mix to be a larger bag than the perlite, sand, orchid bark and (optional) charcoal. These are the amendments to the soil and you won’t need as much of each of them.
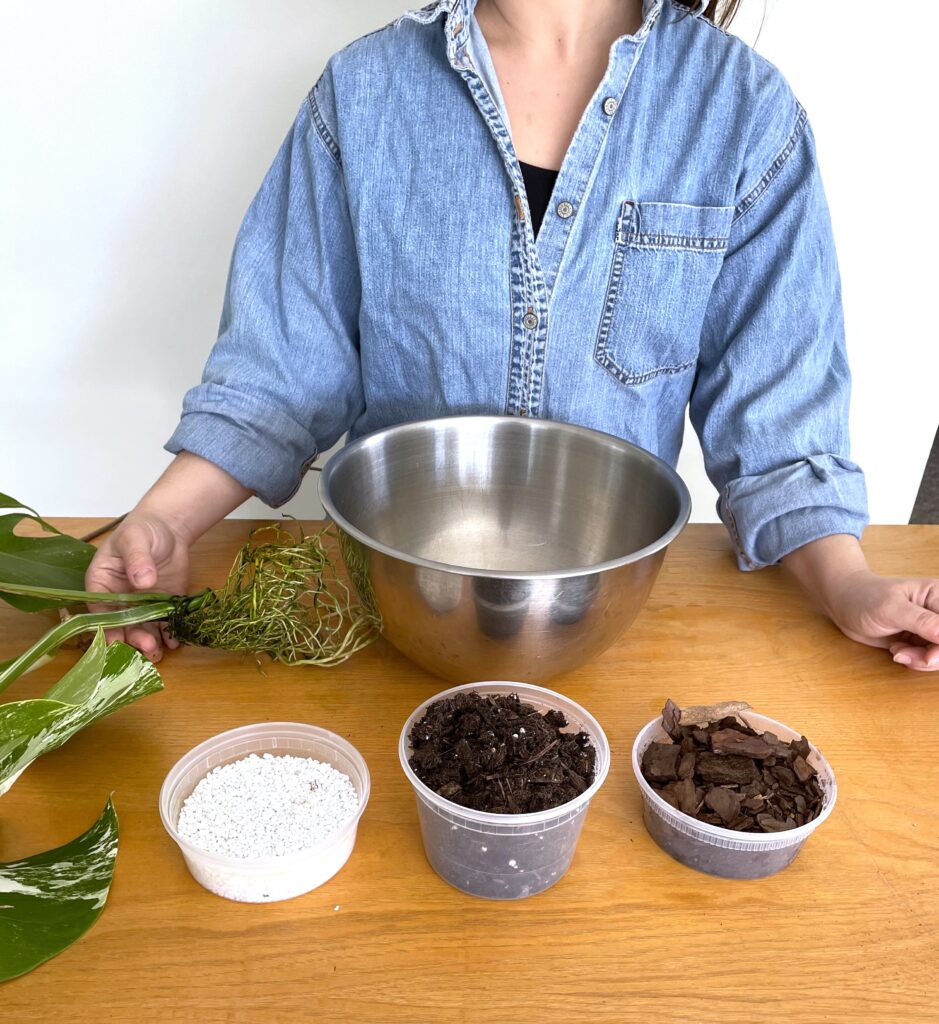
My ratio for homemade houseplant soil mix is 2:1 – two parts soil to one part soil amendments. So for 2lbs of soil, I use 8oz of perlite, 4oz of orchid bark, and 4oz of sand. I use 4 oz of perlite if I throw in 4oz of charcoal.
First I measure everything out:
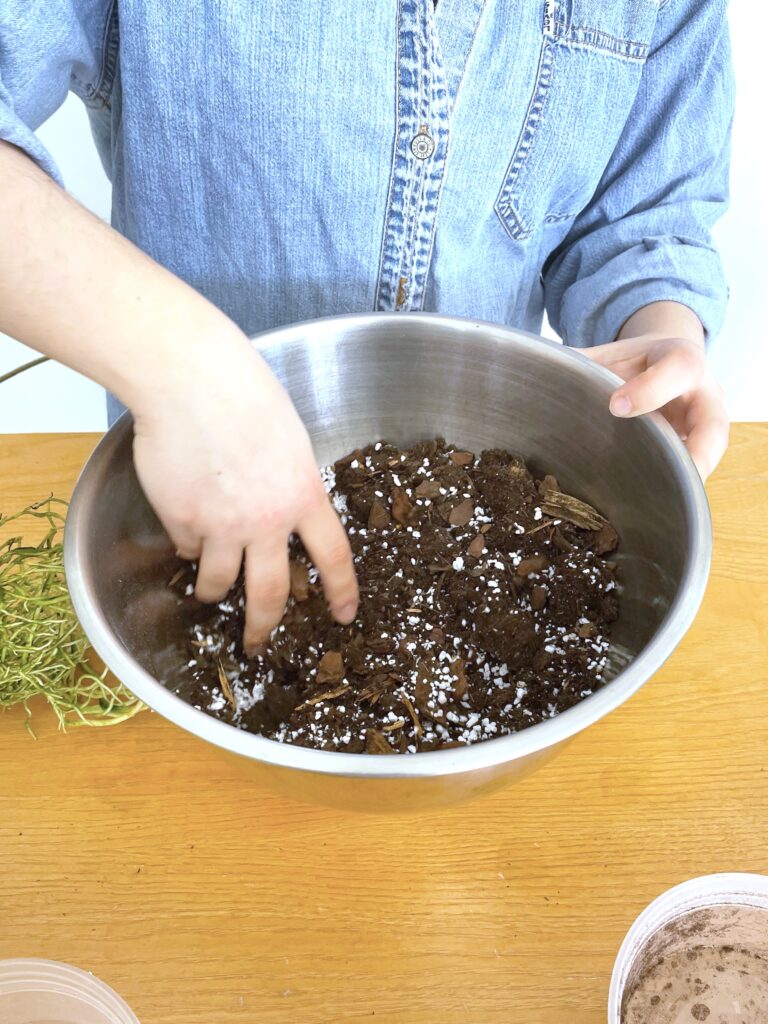
Then I mixy mix everything together….
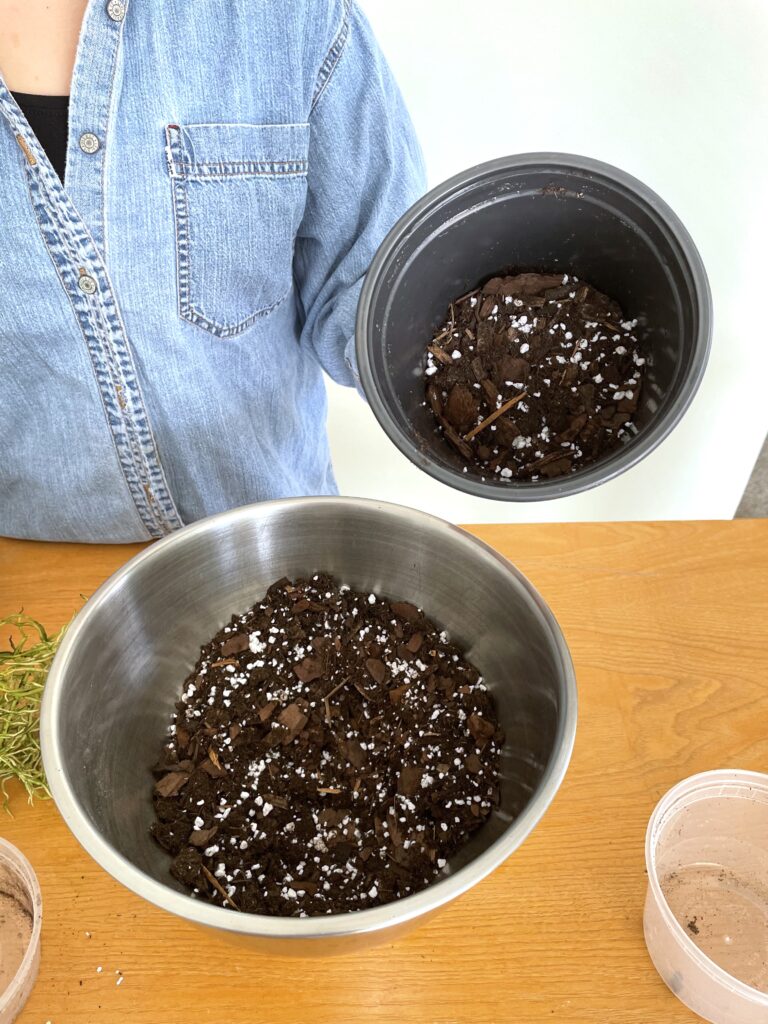
Then start repotting! It’s quite easy.
What Everything Does in a Houseplant Soil Mix:
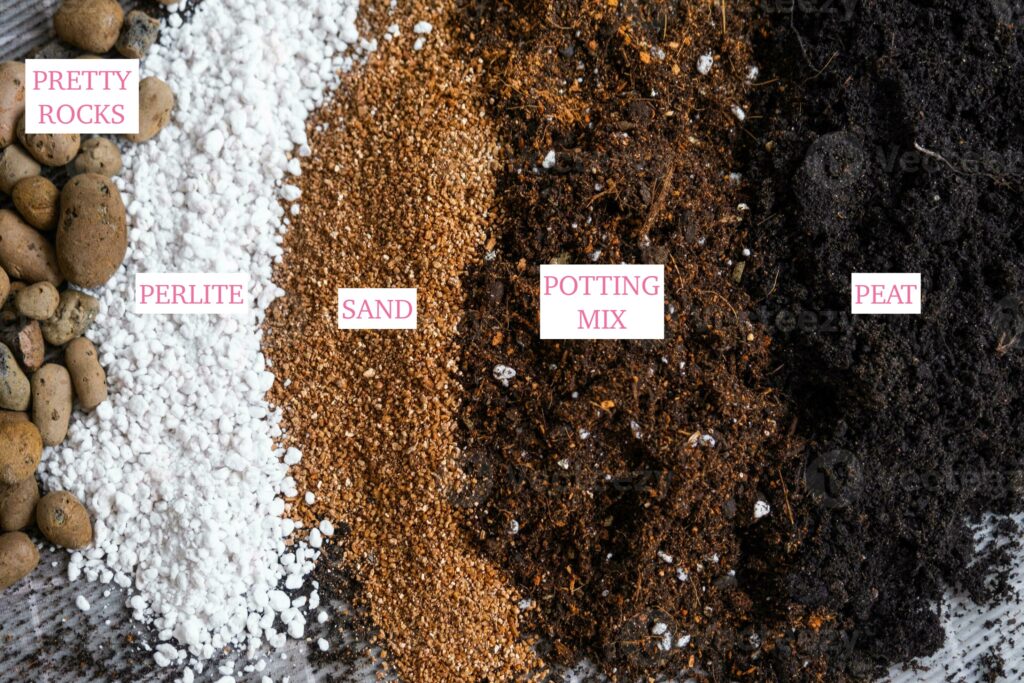
Everybody in the soil play production has a role and everyone is important. This breaks down what everyone’s role is, plus a few unpaid extras like Peat and Rocks:
Soil: Keep the plant structured, provides nutrients, and holds in moisture.
Perlite: Provides aeration, also keeps in moisture.
Sand: Improve drainage.
Orchid bark: Reduces compaction of soil, improves air circulation of roots.
Charcoal: Helps neutralize fungus and bacteria growth.
Peat: Organic matter that is excellent.
Rocks: Can be decorative on top of soil.
I always keep most of these on hand (always the top four) and I doctor up my soil as necessary depending on what said plant needs.
All About Coco Coir
It’s important to acknowledge a soil medium often overlooked: coco coir (not to be confused with Koko Karl). Costa Farms, for example, grows and sell their plants in this master medium. It’s actually great for the environment, cheap to make, and allows for the best root development in new seedling and cuttings. Costa Farms is amazing and 75% of my houseplants are from them, but I do always change Costa plants out of the coco coir and into my own mix. But why?
Coir has some issues for long-term use. It has quite a few minerals and salts that can interfere with fertilizing and it’s basically a sponge. This SpongeBob quality is great for plants that need to stay watered for long periods (like a transportation truck from Florida to New York) but it’s hard to manage in a home setting.

I did an experiment. I left a plant in coco coir for 6 month just to see what happens. Honestly, nothing really but the fungus gnats. Oh the gnats, and they weren’t even the same gnats from the beginning of the blog post. Never again. See, the coir just always had too much water in it so my battle with fungus gnats was endless. Even after draining the plant post-water it was still wet. So this is why I always do the thing and change the soil.
Either way, coco coir is still an amazing medium to use for seed starting vegetables or fruit trees or houseplant cuttings. In fact I was so happy about how spongey it was that I may do another experiment rooting houseplants in coco coir, just for funsies. I would say if you can find it, buy it, and keep it in your arsenal.
Have you made your own potting mix? Do you like coco coir? Have any tips? Leave them below for me to read, please and thank you.


In our understanding of ratio 2:1 means twice the amount. There’s 16oz in 1lb so for what you say above there would need to be 2lbs soil & 1lb of amendments.
Are we confused or did you make an error?
Thanks
That’s correct!
As far as the soil mixture it would of been nice if ratios were included!
It’s right in the post Darcy, it’s “2:1 – two parts soil to one part soil amendments. So for one 2lbs of soil, I use 8oz of perlite, 4oz of orchid bark, and 4oz of sand. I use 4 oz of perlite if I throw in 4oz of charcoal”
This was so good! Thank you for posting. I have a fungus gnat issue with my house plants and this information was just what I was looking for – really great.
So to make this it is necessary to use potting mix and not compost? Just ask as it looks like potting mix already contains the other ingredients you recommend using. Desperately trying to get rid of gnats.x
Thanks for this! I’m realizing pre-mixed potting soil from big box stores just aren’t working for my leafy babes!
You mentioned that “Some of my other plants (like Calathea) get dressed in a different soil blend.” What is your different soil mix for Calathea? I purchased a Costa Farms rattllesnake plant two years ago and it needs repotting into a bigger pot.
Hi Billy, I typically add a handful of sphagnum moss to all my Calatheas to keep moisture in check. They dry out so quick and I have had great luck with them after adding in this water-retentive reinforcement.
What type of sand are you using? The sand in the photo looks very coarse… Thanks
This is from a local garden shop, more of an “artisan” sand if you will, made for succulents.